

The basics of Kali linux (tutorial) – Part 1
Kali linux is a linux distribution (variant) that is especially made for penetration testing everything related to computers ranging from PCs and Networks to WiFI routers and Websites. Knowing a few things about this tool can therefore help you to make your own devices and WiFi networks safer. In the following tutorial series I will explain a few basics of this toolbox. The approach here is more result-oriented and for absolute linux beginners.
Install Kali linux
There are multiple ways to install Kali linux. The three main options are:
- installing Kali linux on a seperate PC or laptop
- I would recommend this option only if you have a spare cheap laptop and plan on using this setup more often
- running Kali linux as a Virtual Machine (VM) on your normal machine
- this is the most compfortable to start with but as you need to give the virtual machine rights to use the real hardware in your PC it often is not easy to set it up
- installing Kali on a bootable USB stick that you can plug into any computer and boot from it
- this is a good option regarding portability and quite easy to set up but as the resulting operating system is slowed down by the maximum speed of the USB stick it feels quite sluggish
For beginners I would absolutely recommend to start with a virtual machine which is also what I am going to focus on most in the following tutorial.
Download
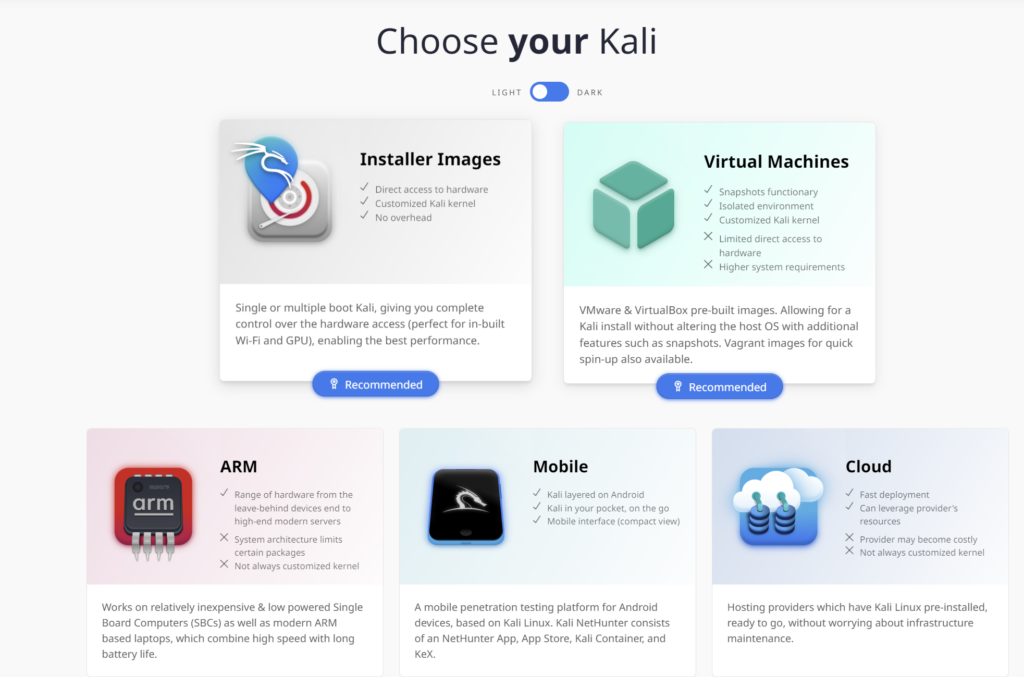
Download Kali linux from the official page. Depending on what platform you chose, you can find many kinds of download links on the page. When installing Kali on a another computer choose the installer images and download the Kali .iso file. You can than flash this with the help of a USB boot tool like Rufus on a USB stick, boot from it and install the operating system according to the guide.
If you are going to use a virtual machine you can find a preformated version for VirtualBox under the Virtual Machines tab. VirtualBox is also the virtual machine manager i would recommend you to use for this as it features an intuitive user interface and offers great performance. Once downloading both you can simply import the file into VirtualBox and klick start.
WIFI Adapter
A seperate USB WIFI Adapter is theoretically only needed when your using a VM but it also comes in handy if the computer you installed Kali on doesnt have a WIFI card that supports monitor mode and packet injection. You can check this functionallity on the according datasheet of your card manufacture.
Monitor mode is the essential feature a WIFI card needs to support for being able to capture all WiFi signals and showing even those to which it is not connected.
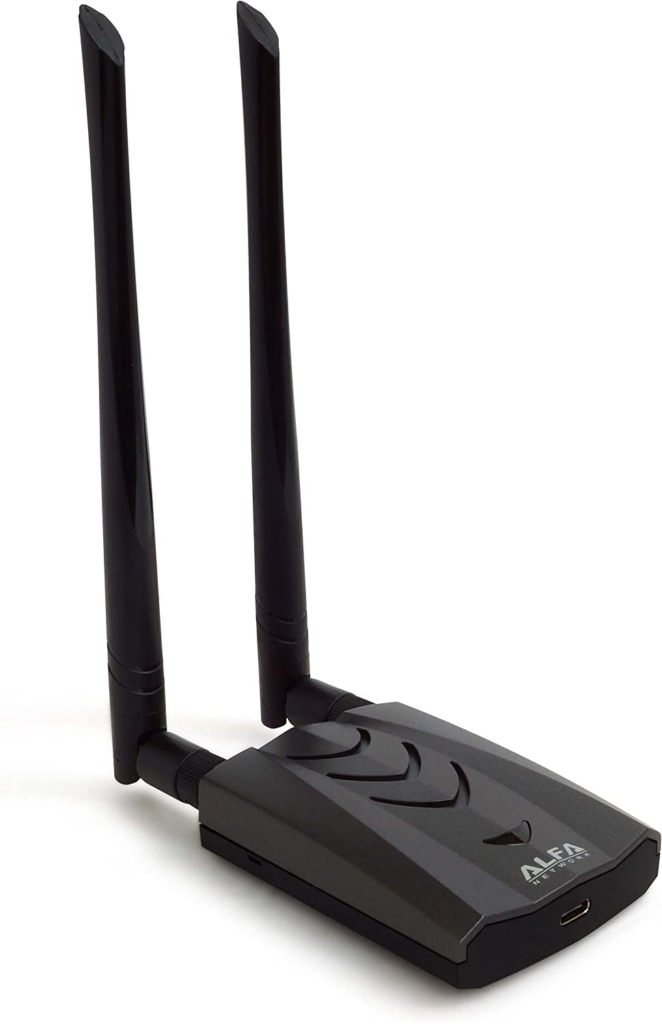
Therefore it is recommended to check the capabilities of your card before you buy one. If you do decide to get one I can recommend the USB Alfa Network cards as they are well known inside the community for their great compatibility and vast set of functions.
Before plugging in you WIFI card, check if the drivers are downloaded in Kali and windows and start the Kali VM before pluging the WIFI adapter in as it otherwise will result in compatibiliy issues.
Now to start working with a WIFI adapter iyou first need to put it in monitor mode in which the wifi card will give out all the network frames it captures.
Monitor Mode:
rebootIf you have just pluged in the WIFI adapter it is generally a good idea to restart the whole system so that the drivers can be loaded as intended.
airmon-ng check killWith the airmon-ng check kill comand you can check for any other programms that might use the WIFI card and are therefore blocking it from entering monitor mode.
systemctl stop wpa_supplicantMost of the time the wpa supplicant, otherwise known as the linux network manager, is blocking the adapter from entering monitor mode. With this command you can end this programm.
iwconfigWith iwconfig you can see all the network connections and their specific names under which you should see one named wlan0.
sudo iwconfig wlan0 mode monitor/airmon-ng start wlan0Finally with this command were telling the system to set the wlan0 network interface to monitor mode.
Congratulations you managed to set up Kali linux and got your WIFI adapter working and set in monitor mode.
