
There is an updated and improved version of this article available. Check it out here.

DIY customizable lithophane RGB lamp

This project is rated green as it is quite easy to replicate with the help of a 3D printer and some basic tools such as a soldering iron. Luckily the installation of WLED also doesnt even require any arduino skills or knowledge about the Arduino IDE.

The lamp can be easily build within 1 hour (+ time for 3D printing) which together with the personal custom logo/image makes it perfect for a last minute gift for friends and family.
Overview
The planned RGB tabletop lamp has an ESP-32 chip which illuminates the background of your own picture on the front with the help of three WS112b LEDS. The whole animations and colors are even controllable over your home WiFi and an app thanks to a software called WLED. The whole thing can be 3D printed with conventional 3D printers such as an Ender3, Prusa i3 MK3, etc.
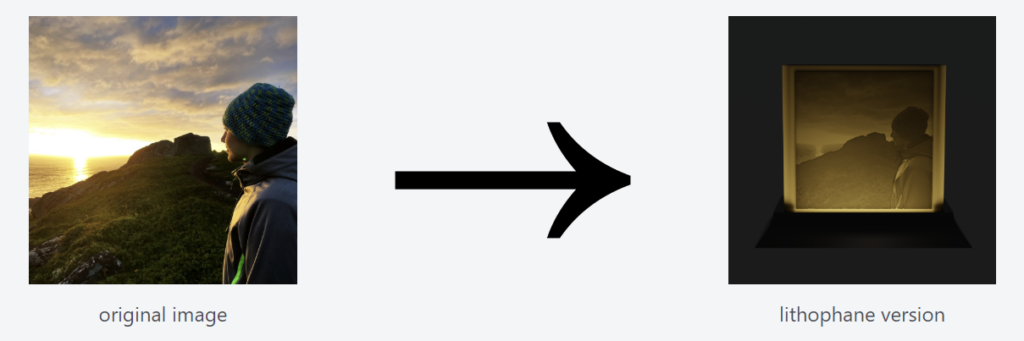
The resulting lamp can look like this:
Parts list
- ESP-32 (Amazon)
- WS2812b LEDS (Amazon)
- a few centimeters of cables (Amazon)
- 4 x M3 screws 12 -14mm
- 3D printed parts
- base
- lid
- lamp with own lithophane
Tools
- soldering iron (solder)
- hot glue gun
- glue
- 3D printer
- side cutters
- alen key M3
- tape
Building it
1. Custom image to lithophane
A lithophane is a picture which gets revealed by light shining from behind on it. This is achieved by 3D printing the darker parts in the image thicker so that more light gets blocked and the brighter parts thinner. In the following I will use a picture with quite good contrast.
1.1. prepare the image
Under the tab Images you can upload pretty much any image you like but espesially considering the small size of the usable image area i would recommend a simple image with good contrast. In my case I used a logo or a picture outdoors with good contrast.
Before uploading your image to the website it is necessary to cut the image to a 1:1 ration which can be easily done in windows:

1.2 lithophane creation
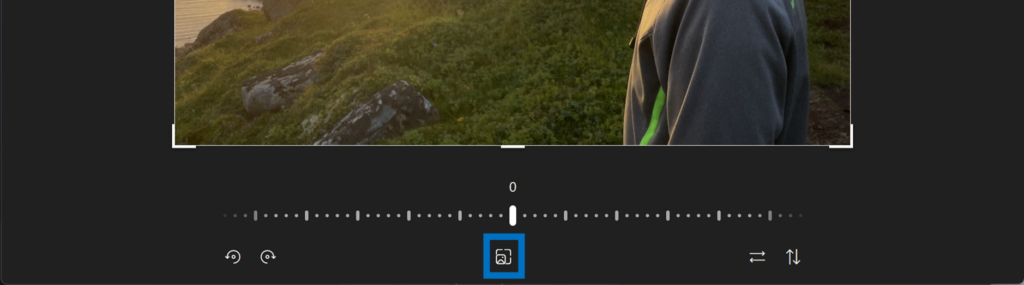
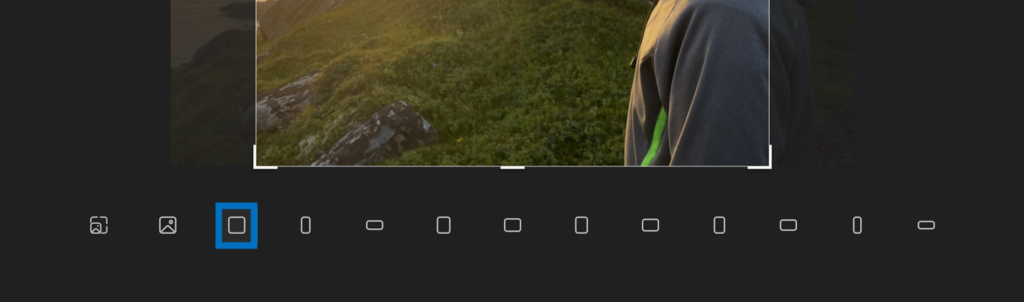
To create the image out of the newly cut picture this website from 3dp.rocks works quite well.
After uploading your image and then choosing “Flat” under the model tab you can proceed to the image settings tab and then the model settings tab.
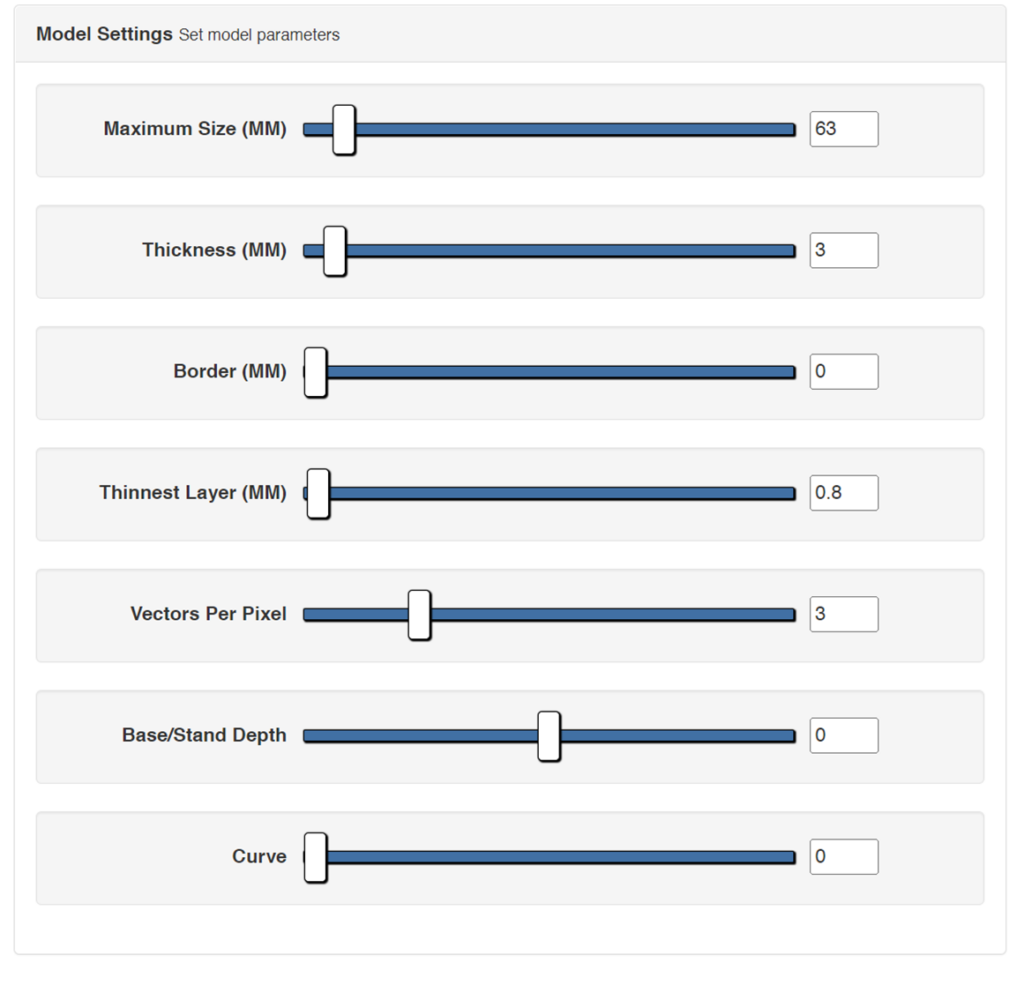


You can then go onto the model page again and after clicking refresh you will be able export the created lithophane with a click on download as a .stl file.
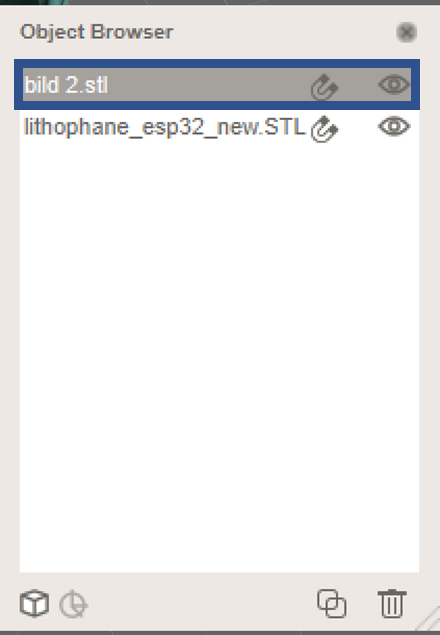
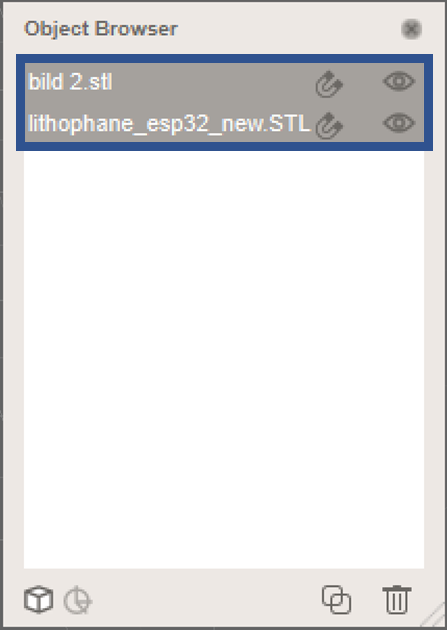
2. Combining the lithophane with the lampshade
With the lithophane created the last thing you need are the 3D files for the rest of the lamp such as the lampshade and the base. You can get them here:
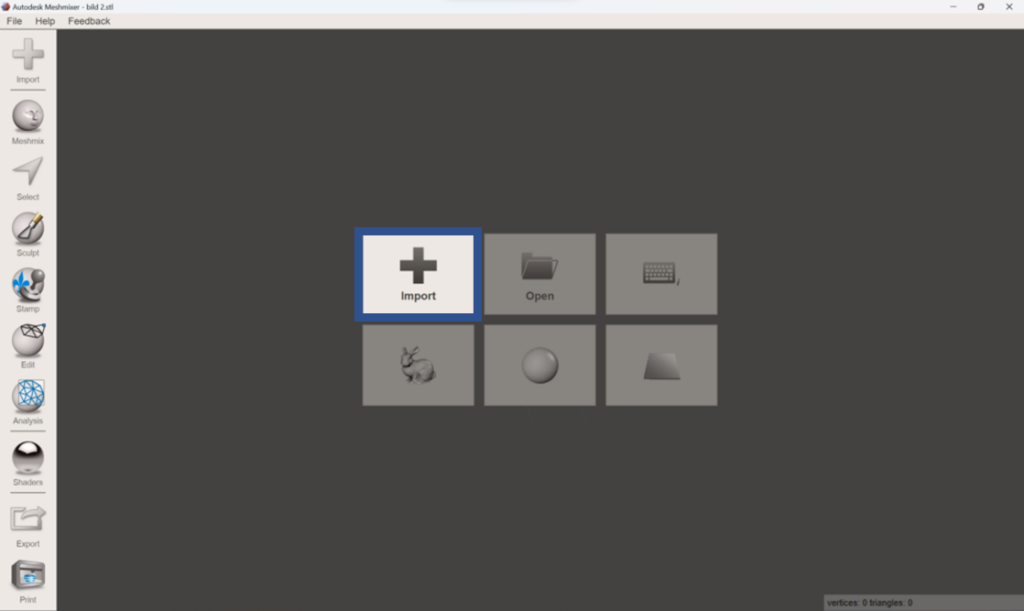
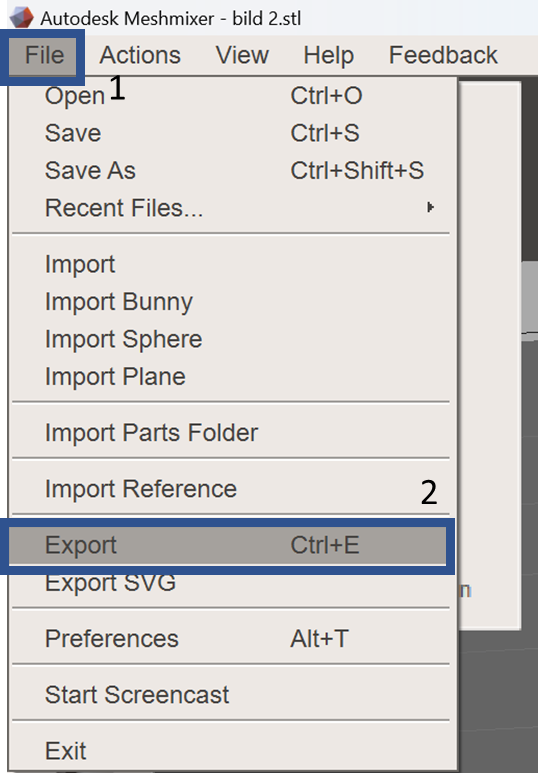
To combine the lithophane from the website with the upper part of the lamp (lampshade.stl) it would be ideal to perfectly align them in a CAD programm such as Fusion 360, Solidworks, blender, etc.. In the following guide we will proceed with a free software called Meshmixer which can be downloaded here.
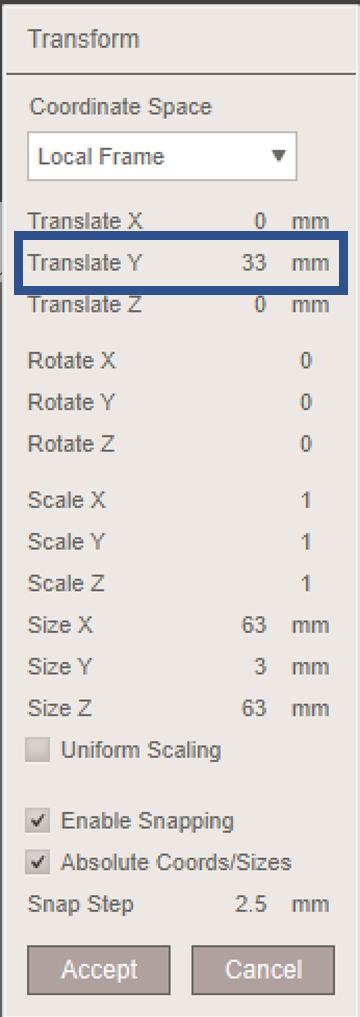
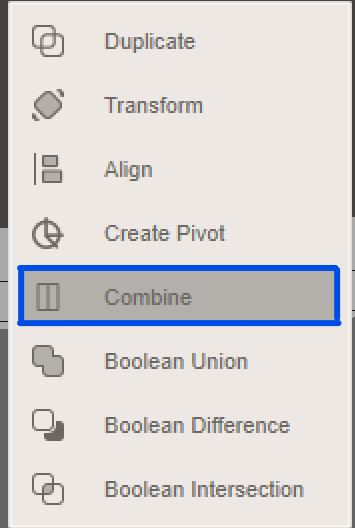
2.1. Combining with Meshmixer
To combine the lithophane with the lampshade it advises to use Meshmixer as it is easy to handle even for people who never used any CAD programms.
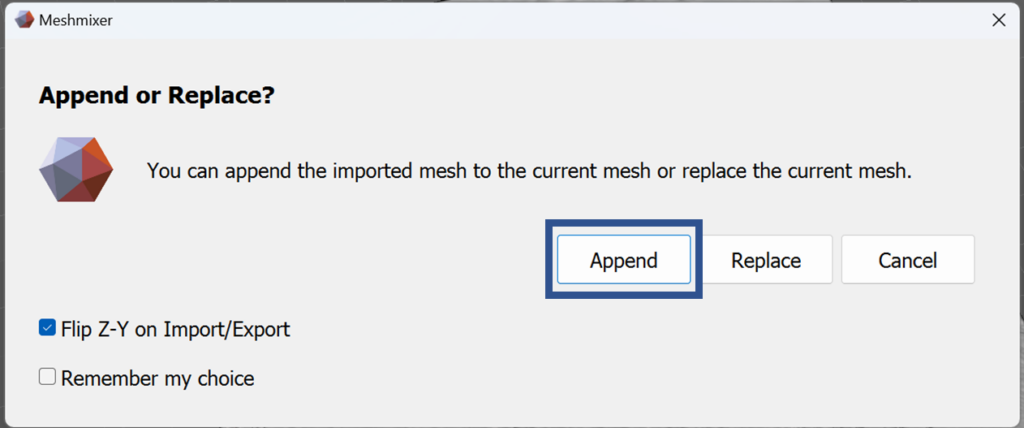
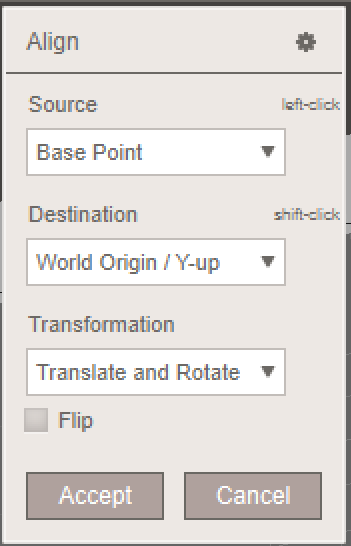
As this can be a bit confusing I made a short instruction video on it:
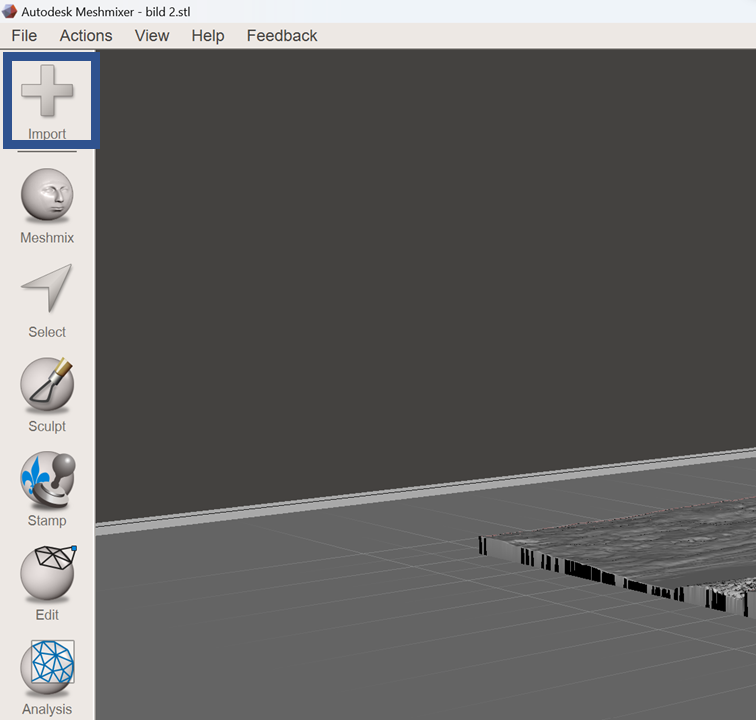
Once you downloaded and started Meshmixer you can follow the guide:

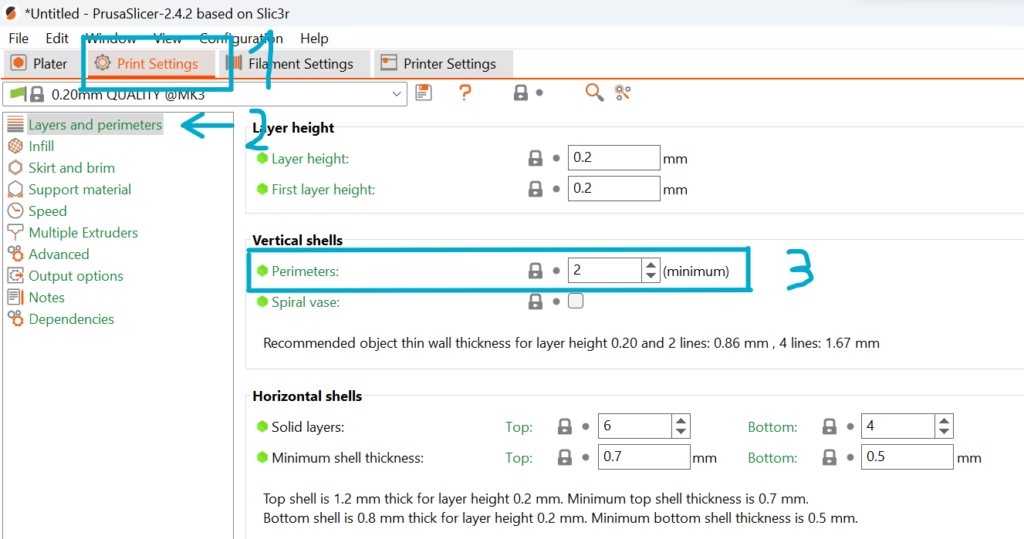
3. Slicer
As the lithophane needs to be full of plastic for the brigth/dark effect to work you need some specific slicer settings activated. As a slicer i use PrusaSlicer and can recommend it for everyone having a 3D printer from Prusa. That being sad all slicers have the following settings included.
3.1. Lithophane and lid
First of lets import the newly merged lithophane + lampshade .stl file.
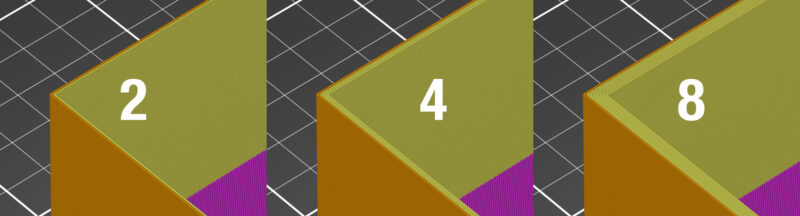
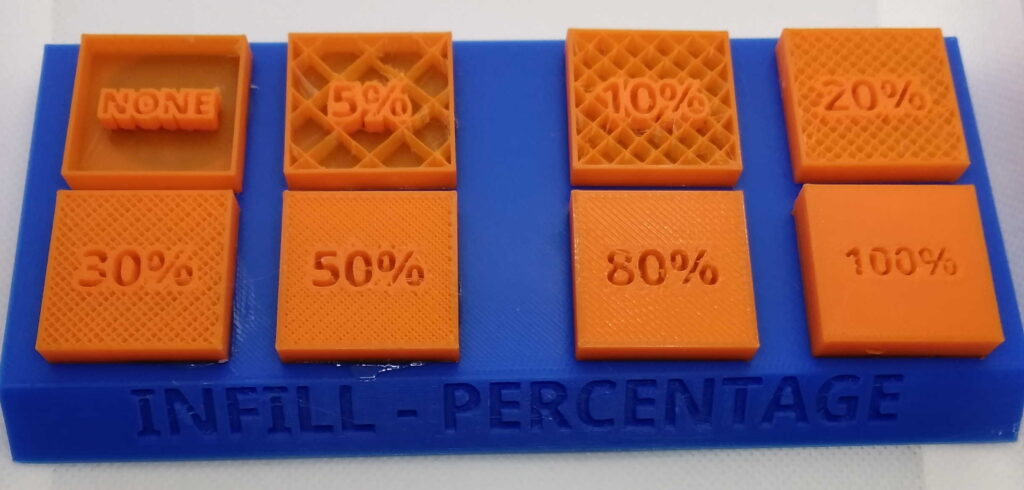
The most important control in this context is the perimeter setting as this defines how many “hulls” the 3D printer should print bevor starting with the infill. Depending on the thickness of the lithophane it isn’t even needed to go above 2, but you can safely bump this up to 8 without any side effects.
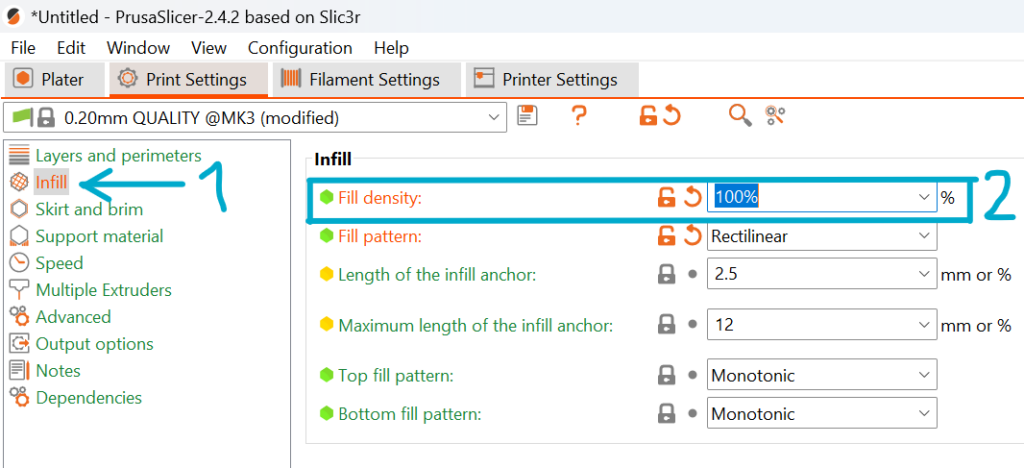
Next you want to set the infill to 100%. Because we already set the perimeters to 8 this will not affect the lithophane itself (as it has no infill) but the the places for the screws in the object are (depending on the nozzle your using) bigger than 8 perimeters.
3.2. Base
The base.stl file of the lamp doesnt really need any special requirements when slicing. Just slice it with 2 perimeters and 20% infill of your choice and it will be fine.
4. 3D Printing
4.1. Lithophane and lid
As you might have guessed, the lithophane/lampshade and lid need to be printed out of white PLA filament so the colours from the LEDs inside will shine through. In my experience it is worth using good quality filament on the lithophane as you otherwise might get impuritys in the print.
4.2. Base
The material of the base is again less important than the one of the lithophane and any color or type of filament will do the job. I can recommend a dark blue or silver PLA filament for a nice look even when turned off.
5. Assembly
Now for the final mechanical part: start of by glueing the lid with a little bit of two component glue or plastic glue on the lampshade and let it dry. While waiting you can start to cut of 3 leds of your WS2812b led strip.
Then carefully solder the pins of the first LED (marked by arrow) to the following ESP-32 pins with the help of a few short wires:
Data cable -> GPIO Pin 4
5V -> 5V
GND -> GND
Afterwards you can fixiate the LEDs on the ESP-32 with the help of a double sided clue pad. Please make sure that no electrical conductive parts short on the ESP-32 dev board.
With that done you can glue the ESP-32 with the LEDs on top in the base. Before applying the glue, double check if you can plug in the cable.
Now to complete the build, you can place the lampshade in the intended slot on top of the base. To secure it, there are four holes for screws on the under side of the base through which you need to screw M3 x 12mm bolts.
6. Installation of WLED
WLED is a free and open source programm for the ESP-X class of chips. Once installed you can completly controll and animate your LEDs over a Web interface and App (IOS and Android). There are also many plugins and addons available such as LEDfx with whichs help you can let your lamp react to music.
The installation is as easy as connecting your ESP-32 over a micro usb cable to your PC and opening the WLED installer website in your browser.
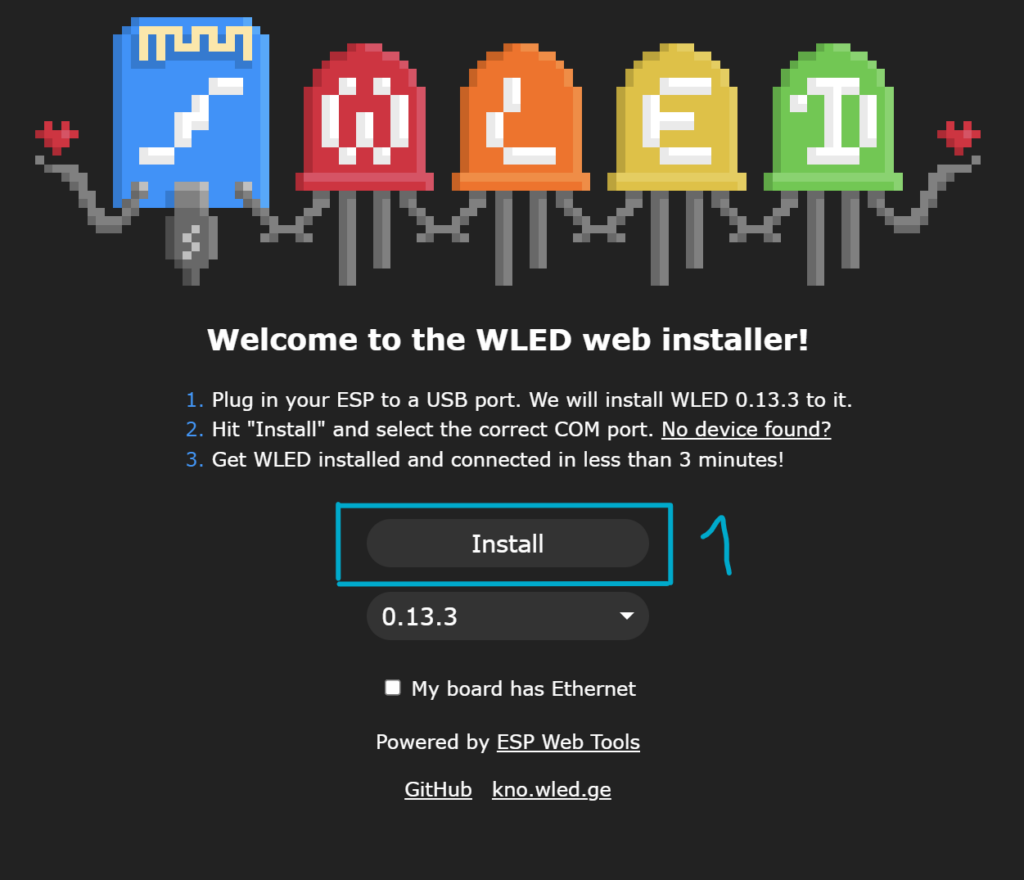
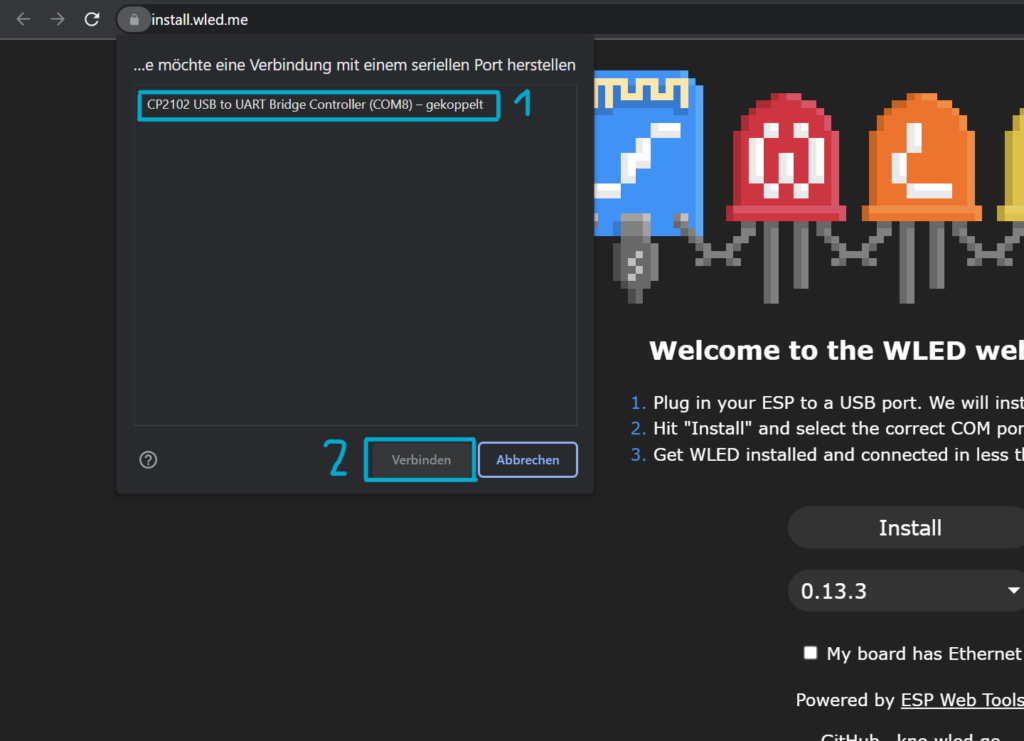
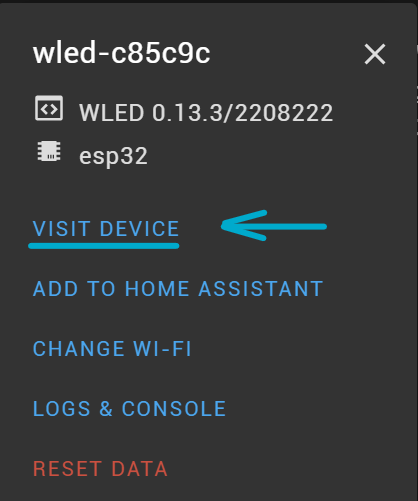
3. After the installation has finished you will be asked to enter your WiFi credentials meaning the name (SSID) and the password. That being done you will be presented with the following window and you will be able to visit the web page of the device by choosing the first option.
Once you are on the WLED site you need to put in the GPIO pin to which the LEDs are connected which is pin 4 in our case. How to do that in detail can be found in the video guide of this project.

Congratulations! You managed to build your very own RGB lamp with a customized lithophane whose color can be controlled via WLED. You can now unpluck your lithophane from your computer and put it anywhere you like (as long as your home WiFi reaches) with the help of a normal phone charger (grid power to USB).