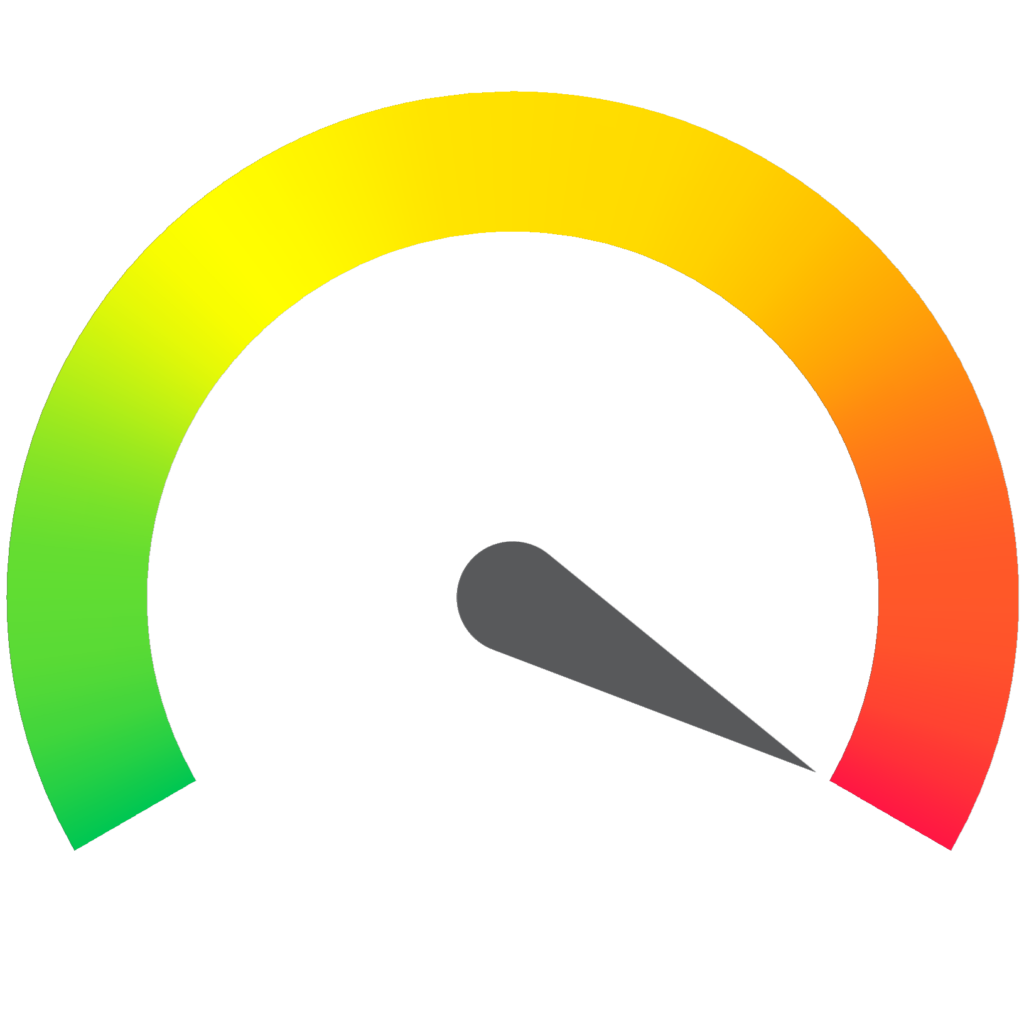
This projects is rated red as it requires some background knowledge of computers/networks, programming an Arduino microcontroller and linux.

Depending on the experience level WeatherOS can be set up within a few hours.
The documentation of this project isn’t nearly as detailed as i would like which makes it more suitable for experts. Im working on it to make this projects more accessible for beginners and advanced useres.
This code of this project is overly complicated and not efficient in any way. This project is now quite old and would need a complete remake. The basics should still work though.
WeatherOS is an open source code for the arduino platform which makes it really easy to operate your own weather station. In the following I will explain how to use it and customize it to your own needs.
The code is still in development and there is still lot to fix and to optimize. I will address these problems step by step in the upcoming updates. If you have any ideas on how to improve the code please let me know and send them to me. I plan to upload the code to GitHub in the future.
General Information on the Project
The code is intended to run on Espressifs latest chip: the ESP-32. You should be able to get it running on a ESP-8266 too if you change the WIFI libraries and GPIO Pins. These are the currently supported sensors:
- 2x Temperature (BME280)
- 2x Humidity (BME280)
- 2x Pressure (BME280)
- 1x Lux (TSL2561)
- 1x Rain
- 1x Wind speed
- 1x Wind direction
You can choose the sensors you like and then simply adjust the code to your sensors.
Apart from the ESP-32 the weather station consist of a server running a database like MySQL and a web server with PHP installed to execute two simple scripts which then write the send data from the ESP-32 into the database. As the operation of such a server requires some advanced knowledge you can also book
Parts list
- ESP-32 (Amazon)
- Server (You can rent one at companys like Hetzner (especially when you want to access your data from the internet) or simply host your own at home with a Raspberry PI Zero (or really any other computer you don’t mind to be plugged in all the time))
- Arduino Sensors
- temperature/humidity/pressure sensor
- wind speed sensor
- rain sensor
- light sensor
- wind direction sensor (best to build it yourself/i will describe how in another article)
- simple electronic parts/tools (cables, soldering iron, etc.)
- WIFI connection at the location where you want to operate the weather station (potentially with a WIFI repeater)
Building it
Server side software
First i would recommend you to set up your server and install a MySQL database and a web server with PHP. There are plenty of tutorials out there for doing exactly this so i won’t go into detail here. If you want an easy visualization of the data i can also recommend you to install Grafana.
With the button down below you can download the two simple scripts running on the web server. One inserts the data from the weather station into the database while the other confirms if the operation was successful.
For the database you can run the following file to create a table which has a column for all the sensors the weather station supports:
Hardware
Next it would be a good idea to plan the hardware side of your project. For that you first need to chose the sensors. I integrated the weather station into a small shed where i also fitted a big lead accid battery in combination with a 30W solar panel and a solar charge controller. This power source is a complete overkill for the small ESP-32 but as i wanted to fit a Raspberry Pi zero together with an antenna to collect satellite images in the future i went this way anyway. It is important that you have access to a stable 5V power supply at the place where you want to operate your weather station. I am also planning a 3D printable case with mounting points for all the sensors, the ESP-32 and a small solar panel. But until then i would recommend to model one yourself if you have access to a 3D printer.
Client side software
To install the code on the ESP-32 i would recommend you to go with the standard Arduino IDE. As the Espressif chips are not integrated in to the Arduino IDE by default you need to add it as shown in this randomnerds tutorial. After this please download the actual code for the weather station from this link:
After the file has downloaded you can open it with the freshly installed Arduino IDE and load it onto your ESP-32 by connecting the chip with a Micro-USB cable to your computer and then choose the right COM port in the IDE under “Tools”.
Customization
As mentioned at the beginning, you can customize Weather OS to your own liking. Not only are you able to choose the sensors you like and change the GPIO pins for the sensors but since it is completly Open Source you can also write completly new functions for it. Just make sure to mention the source. The code may not be used commercially without my permission.
